Table of Contents:
Choosing the Right Equipment and Supplies for Your Printing Setup
Getting your printing setup right from the start saves you significant money and frustration down the line. The decisions you make about hardware, consumables, and software form the foundation of every print job you'll produce — whether you're running a small in-house operation or managing a high-volume commercial workflow. Before you spend a single dollar, you need to understand how these components interact and where cutting corners costs you most.
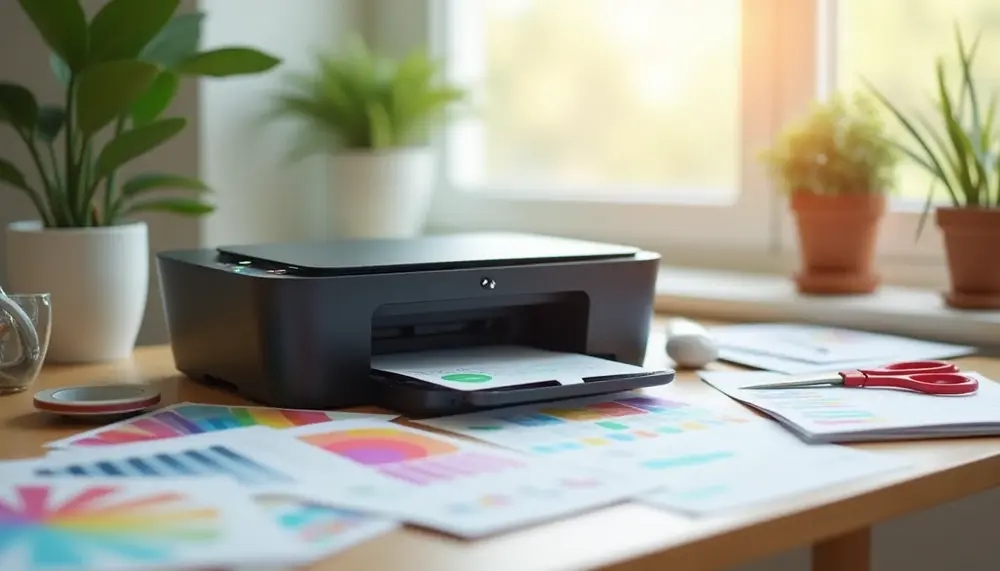
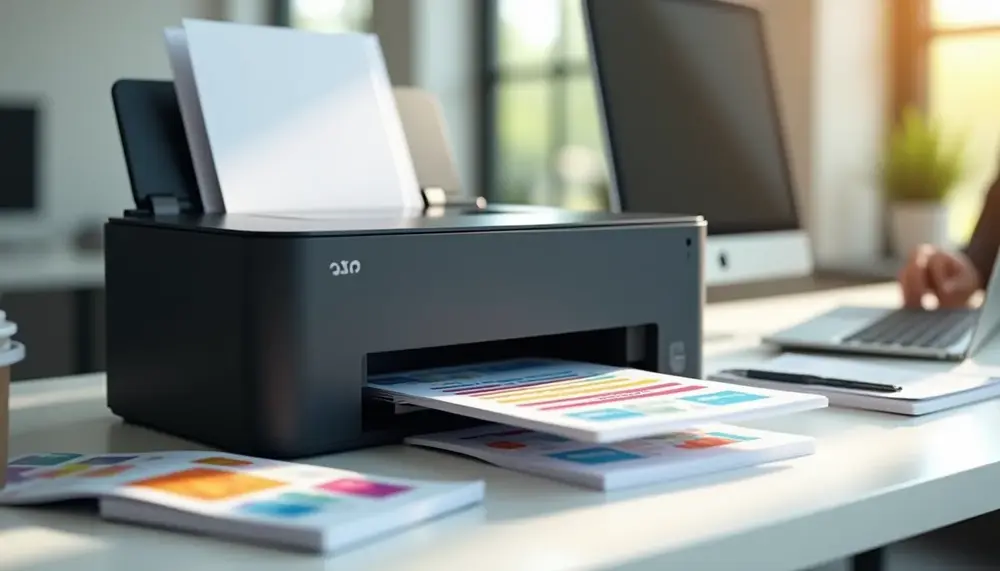
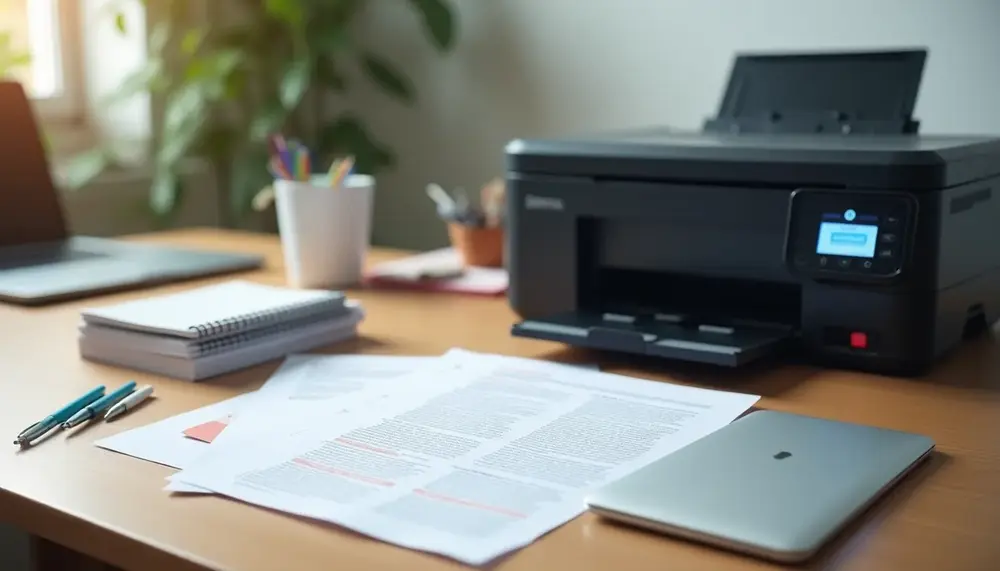
Selecting the Right Printing Hardware
The printer itself is the obvious starting point, but most buyers fixate on purchase price while ignoring total cost of ownership. A laser printer with a $300 upfront cost and $0.02 per-page toner cost will dramatically outperform a $80 inkjet at $0.15 per page if you're printing more than 500 pages monthly. Duty cycle — the manufacturer-rated maximum monthly page volume — is one of the most overlooked specifications. Running a printer consistently at 90% of its duty cycle shortens its lifespan by years. If you need a deeper look at the different machine categories and their technical differences, a comprehensive breakdown of how various document printing machines work and what distinguishes them can help you match hardware to your actual workload.
Beyond the machine itself, connectivity and scalability matter enormously in professional environments. Network-capable printers with PCL or PostScript support integrate far more reliably into mixed operating system environments than consumer-grade USB-only models. If you're setting up a shared office printer, prioritize devices with built-in ethernet and, where needed, Wi-Fi 6 support for stable high-traffic throughput.
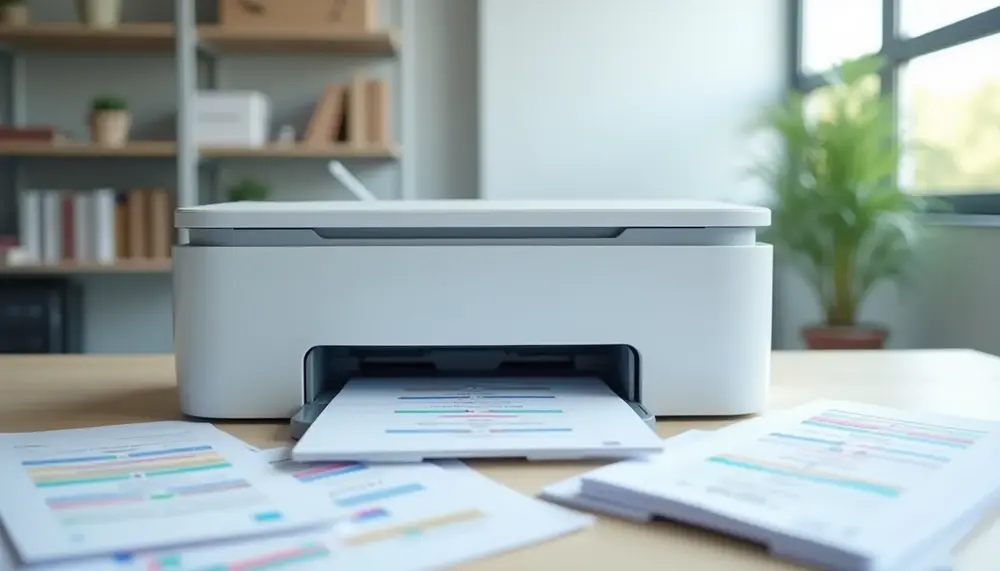
Consumables, Media, and Driver Configuration
Your choice of supplies directly determines output quality, machine longevity, and operating costs. Third-party ink and toner cartridges can save 40–60% per unit, but low-quality aftermarket products cause printhead clogs, voided warranties, and inconsistent color output. OEM supplies remain the safest choice for critical color work or high-value documents. For a structured overview of what consumables you actually need and how to evaluate them, the essential breakdown of digital printing supplies covers everything from paper stock selection to specialty media considerations.
Paper selection is frequently underestimated. Using 20 lb bond paper in a machine designed for 24 lb stock leads to jams, misfeeds, and poor toner adhesion. Always match paper weight, coating type, and brightness rating to your specific output requirements. For standard office documents, 75–90 gsm uncoated paper works reliably. For marketing materials or client-facing output, 100–130 gsm matte or silk-coated stock delivers noticeably better results.
Driver software ties hardware and output quality together, and incorrect or outdated drivers are responsible for a surprising number of print quality issues. Understanding what file types printer drivers use and how they function helps you diagnose compatibility problems before they escalate — particularly relevant when deploying printers across multiple workstations or operating systems.
- Evaluate total cost of ownership, not just device purchase price
- Match duty cycle to your actual monthly print volume with at least 30% headroom
- Verify paper compatibility specifications before bulk purchasing media
- Keep drivers current and source them directly from the manufacturer
- Test consumables from any new supplier on non-critical jobs before committing
File Formats, Color Modes, and Image Resolution Standards
Getting your files print-ready is where most production errors originate — not on press, but at the designer's workstation. The decisions you make about file format, color mode, and resolution before you export determine whether your job runs cleanly or ends up in a costly reprint cycle. Understanding these fundamentals is non-negotiable for anyone serious about print production.
Choosing the Right File Format
PDF/X is the industry standard for press-ready files, and for good reason. PDF/X-1a enforces CMYK-only color spaces and embeds all fonts, eliminating two of the most common causes of press failures. PDF/X-4 allows transparency and ICC color management, making it the preferred choice for modern digital workflows. If you're submitting to a commercial printer, always ask which PDF/X variant they require — defaulting to the wrong one can introduce unexpected color shifts or RIP errors. For a detailed breakdown of which formats perform best in specific print scenarios, the guide on selecting the right file type for CMYK output covers the critical distinctions between PDF, TIFF, and EPS in production contexts.
Beyond PDF, TIFF remains the workhorse format for high-quality image files — particularly for photographic content going to offset presses. It supports lossless compression, 16-bit depth, and embedded ICC profiles. EPS has largely been superseded but still appears in legacy workflows, especially for vector logos. JPEG is acceptable for digital print at maximum quality settings (12 in Photoshop), but never use it for files that will be re-edited or scaled repeatedly — compression artifacts compound with each save cycle.
Color Mode and Resolution Requirements
Any file destined for offset or digital press must be converted to CMYK before delivery — RGB looks correct on screen but produces unpredictable results once separated. The conversion isn't trivial: a saturated RGB blue (0, 0, 255) typically maps to a flat, muted CMYK equivalent because the CMYK gamut is significantly smaller. Use a calibrated ICC profile such as FOGRA39 (coated paper, Europe) or SWOP v2 (North America) when converting, rather than relying on Photoshop's default engine settings. This single step prevents the most common complaint in print production: "the colors looked fine on screen."
Resolution is equally unforgiving. The standard for print is 300 dpi at final output size — not 300 dpi at a smaller dimension that gets scaled up in layout. A 150 dpi image scaled to 200% in InDesign doesn't gain resolution; it loses effective quality. For large-format printing (banners, trade show displays), 100–150 dpi at full size is generally acceptable because viewing distance increases. Line art and black-and-white bitmap images should be set to 1200 dpi to avoid jagged edges. When preparing photographic content for complex layouts, the practical techniques in this how-to guide for high-impact print images address resampling, sharpening for output, and color correction workflows that hold up under press conditions.
One often-overlooked detail: total ink coverage. Most offset presses cap total area coverage (TAC) at 300–320% to prevent ink trapping issues and slow drying. Rich black for large solid areas should be built as 60C/40M/40Y/100K rather than 100K alone, which appears gray on press. Digital presses often have lower TAC limits — sometimes as low as 240% — so always check with your print provider. For a complete picture of how these specifications interact within the broader production chain, the digital printing workflow overview maps out where each technical parameter gets applied from file creation through final output.
Pros and Cons of Effective Preparation in Print Production
| Pros | Cons |
|---|---|
| Increases efficiency and reduces waste | Time-consuming investment at the start |
| Enhances the quality of final output | Requires thorough knowledge and understanding |
| Prevents costly reprints and errors | May involve higher initial costs for quality materials |
| Streamlines workflows and processes | Some team members may resist change |
| Improves resource allocation and prioritization | Requires ongoing evaluation and adjustment |
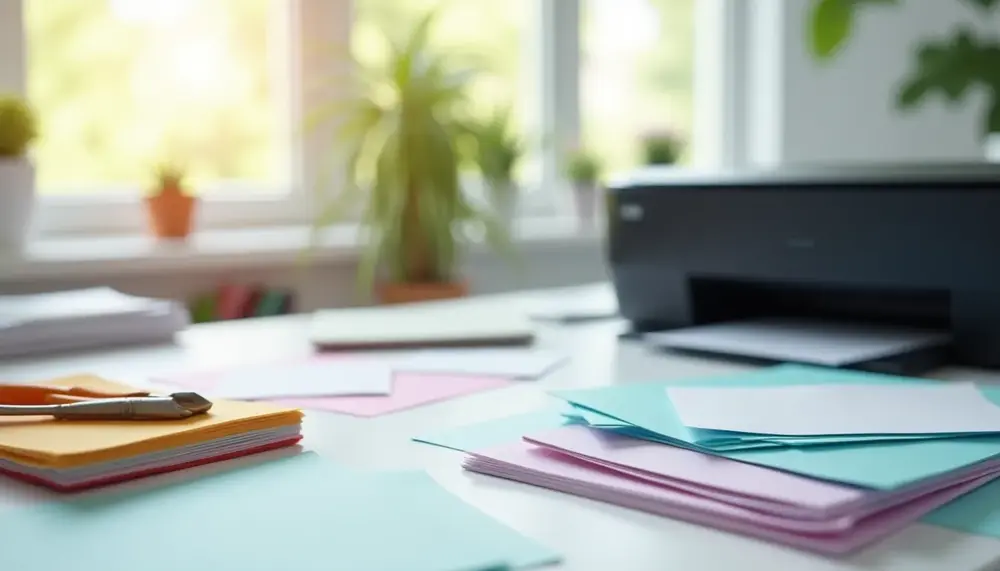
Paper and Substrate Selection: Cardstock, Media Types, and Print Compatibility
Choosing the wrong substrate is one of the most costly mistakes in digital printing — not just because of wasted materials, but because mismatched media and ink systems produce results that no amount of color calibration can fix. The substrate is not a passive component; it actively shapes ink absorption, color gamut, drying behavior, and the mechanical durability of the finished piece. Experienced operators treat substrate selection as a technical decision, not an afterthought.
Understanding Weight, Coating, and Ink Compatibility
Paper weight, measured in gsm (grams per square meter) or lb in North American markets, is the most visible specification — but it tells only part of the story. A 300 gsm uncoated board behaves completely differently from a 300 gsm gloss-coated sheet, even on the same press. Uncoated stocks absorb inkjet droplets into the fiber matrix, which expands the dot and reduces color saturation. Coated stocks hold ink on the surface, delivering sharper detail and higher gamut, but they demand inks formulated for low absorption rates to avoid puddling and extended dry times.
For document printing that demands both visual impact and structural rigidity — think direct mail, presentation folders, or menu cards — working with heavier cardstock materials introduces additional feed and curl challenges that must be addressed at the hardware level. Most desktop inkjet printers handle substrates up to 300–350 gsm reliably, but anything above that typically requires a straight-through paper path to prevent jamming and mechanical stress on the sheet.
Coated stocks fall into three primary categories: gloss, silk/satin, and matte. Gloss maximizes color pop and is ideal for product photography, but surface glare can reduce legibility on text-heavy pieces. Silk coating offers a middle ground — good color density with reduced reflectivity — and is the workhorse choice for commercial brochures. Matte coated stock absorbs slightly more ink than gloss but provides excellent scuff resistance and a premium tactile feel.
Specialty Substrates and Extended Media Types
Beyond conventional paper stocks, modern digital print environments increasingly demand compatibility with synthetic, textured, and specialty substrates. Polypropylene and polyester-based media are water-resistant and dimensionally stable, making them essential for outdoor signage, menus, and maps. These materials require either UV-curable or latex inks — solvent-based systems also work but create VOC-related ventilation requirements. If you're exploring UV inkjet systems for the first time, understanding how UV curing fundamentally changes the ink-substrate relationship is critical before committing to a media portfolio.
Textured substrates like linen-embossed or laid finish papers require higher ink volumes to achieve consistent coverage across the surface topography, which can push ink limits and cause drying issues if not profiled correctly. Canvas, fabric, and transfer papers each bring their own set of requirements around pre-coating, tension management, and post-processing. Building a reliable media library means testing every new substrate with a full ICC profile, a ink limit patch test, and a drying time benchmark under your actual shop conditions.
Stocking the right range of substrates without overcommitting capital is an operational skill in itself. A well-curated selection of papers, coatings, and specialty media — paired with accurate ICC profiles and documented feed settings — is the practical foundation of consistent output. For a structured overview of what belongs in a professional print environment, a thorough breakdown of essential digital printing supplies covers both consumables and substrate categories worth keeping on hand.
- Always request media specifications from your supplier: opacity, brightness, pH neutrality, and ink compatibility ratings matter as much as weight and finish.
- Store substrates flat, in climate-controlled conditions at 45–55% relative humidity to prevent cockling and static buildup.
- Profile new media before production runs — a 30-minute profiling session prevents hours of reprints.
- Check printer manufacturer clearance specs for maximum substrate thickness; exceeding rated values voids warranties and damages feed rollers.
Document Preparation Workflows: From Digital File to Print-Ready Output
The gap between a document that looks great on screen and one that actually prints correctly is where most production errors occur. A disciplined preparation workflow eliminates 80% of these problems before a single sheet runs through the machine. Whether you're producing 10 pages or 10,000, the principles remain the same: resolve every variable upstream, not at the press.
Structuring Your File Preparation Pipeline
Start with your source file format. Native application files (InDesign INDD, Word DOCX) are your working environment, but they should never be your final handoff format. Export to PDF/X-1a or PDF/X-4 depending on whether your workflow requires transparency flattening. PDF/X-1a flattens all transparency and embeds everything — ideal for offset lithography. PDF/X-4 preserves live transparency and is better suited for modern digital presses that can handle it natively. Choosing the wrong standard for your output device is a textbook source of unexpected color shifts and missing elements.
Resolution is non-negotiable. Body text and vector graphics are resolution-independent, but raster images embedded in your document must hit 300 PPI at final print size — not at the original crop, not approximately. A 72 PPI web image scaled to fill an A4 page will print at roughly 18 PPI effective resolution, producing visibly pixelated output. Run a preflight check in Acrobat Pro or your RIP software to catch every low-resolution image before it becomes a problem. For detailed guidance on how to prepare and optimize images for professional print output, the differences between RGB and CMYK sourcing are especially worth understanding.
- Bleed: Add 3mm (0.125 inch) on all edges where artwork extends to the trim line
- Safe zone: Keep critical content 5mm inside the trim edge to account for cutter tolerances
- Font embedding: Verify 100% font embedding in your PDF export settings — missing fonts default to Helvetica or Courier on many RIPs
- Color mode: Convert all colors to CMYK or spot colors before export; RGB elements processed through a generic profile will produce unpredictable results
- Overprint settings: Check black text set to overprint, not knockout — especially at smaller point sizes on colored backgrounds
Preflight and Soft Proofing Before You Commit
Preflight is the automated checkpoint; soft proofing is the human one. Use Acrobat's preflight profiles or a dedicated tool like Enfocus PitStop to run a standardized check against your print specification. A typical professional preflight catches issues including incorrect page dimensions, RGB images, missing bleeds, and fonts that didn't embed. Fix every flagged item — never override warnings you don't fully understand.
Soft proofing means simulating your target output profile on a calibrated monitor. Set your display to simulate the press profile (e.g., Fogra39 for European coated offset) using Photoshop's or Acrobat's proof setup. This reveals color shifts, shadow detail loss, and gamut compression that a standard RGB monitor view completely hides. If a color looks wrong in soft proof, it will print wrong. Understanding the full sequence — from file creation through RIP processing to final output — is covered step by step in this breakdown of the complete document printing process.
The final step before releasing files is a physical test print on your target device. Digital proofing systems can simulate press output with Delta-E accuracy under 2.0, but nothing replaces running actual substrate through the actual machine. Running a structured print test correctly — including density measurements and registration checks — gives you the ground truth your workflow depends on.
Web-Based Printing Implementation: HTML, JavaScript, and Developer Best Practices
Web-based printing sits at an awkward intersection of browser behavior, OS print drivers, and user expectations. Most developers discover this the hard way when window.print() produces a mangled mess of cut-off columns and missing styles in production. The root cause is almost always the same: print stylesheets treated as an afterthought rather than a first-class deliverable. A dedicated @media print stylesheet should be part of your initial component architecture, not something you bolt on after QA flags layout issues.
Controlling the DOM Before the Print Dialog Opens
The moment a print action is triggered, the browser renders whatever is currently in the DOM. This means dynamic content, collapsed accordion sections, and lazy-loaded images can all create incomplete printouts. JavaScript gives you precise control here: intercept the print event, expand necessary DOM elements, swap in high-resolution image sources, and inject print-specific classes before handing off to the browser. If you're working on applications that generate invoices, reports, or shipping labels, understanding how HTML structure directly drives print output quality will save you hours of debugging cross-browser rendering issues.
The beforeprint and afterprint events are your primary tools for state management around print jobs. Use beforeprint to prepare the DOM and afterprint to restore it — hiding print-only elements, re-collapsing sections, and removing temporary classes. One practical pattern: wrap printable content in a dedicated container with a known ID, then use JavaScript to temporarily remove all sibling nodes from the body, print, and restore. This avoids complex CSS selector chains trying to hide navigation, footers, and sidebars individually.
When window.print() Is Not Enough
Native browser printing works for simple use cases, but falls apart when you need silent printing (no dialog), direct printer selection, custom page sizing, or ZPL output for label printers. This is where advanced JavaScript printing techniques start paying dividends — including iframe-based print isolation, PostMessage communication patterns, and integration with browser extensions or local print agents.
For enterprise applications handling high print volumes, consider these architectural decisions early:
- Iframe isolation: Render print content in a hidden iframe with its own stylesheet, preventing main-page CSS from bleeding in
- Print preview components: Build in-app previews using CSS transforms to show users exactly what will print, reducing wasted paper and support tickets
- Async image loading: Explicitly wait for all images to load via
Promise.all()before triggeringwindow.print()— Chrome and Firefox handle this differently - Page break control: Use
page-break-before,page-break-after, andpage-break-inside: avoidon containers like table rows and card components
Teams that print more than 50 unique document types or need to maintain print templates across multiple applications should evaluate whether a dedicated solution makes sense. Specialized document printing libraries abstract away browser inconsistencies and provide APIs for pagination control, header/footer injection, and PDF generation from the same template — reducing per-document development time from days to hours. The upfront investment in proper architecture typically breaks even at around 8–10 document types.
Diagnosing and Resolving the Most Critical Pre-Print Errors
Even experienced users underestimate how many print failures originate before the job ever reaches the printer. In professional environments, roughly 60–70% of reprints stem from preventable pre-print configuration errors — wrong paper size settings, mismatched color profiles, or corrupted driver states. The good news: most of these failures follow recognizable patterns and can be systematically eliminated with the right diagnostic approach.
Driver and Software-Layer Failures
The driver layer is the most overlooked failure point in pre-print diagnostics. A driver that was stable six months ago may now conflict with a recent OS update, causing jobs to spool indefinitely or output garbled PostScript. Before assuming hardware failure, always cross-check your driver version against the manufacturer's current release — a version mismatch of even one minor revision can produce unexpected behavior. Understanding what formats printer drivers actually use helps you identify whether a .INF, .PPD, or .GPD file might be at the root of your problem. A clean reinstall of the driver, rather than an update-over-existing installation, resolves the majority of software-layer issues in under ten minutes.
Beyond the driver itself, the print spooler service is a frequent culprit. On Windows systems, a stuck spooler can silently block all outgoing jobs. The fix is straightforward: stop the spooler service via services.msc, delete all files in C:\Windows\System32\spool\PRINTERS, then restart the service. This alone clears roughly 30% of "printer not responding" cases without any hardware intervention.
Document-Level Configuration Errors
Orientation and page-size mismatches are among the most common errors that derail a print job at the document level. A PDF exported at A4 but sent to a Letter-configured printer will either clip content or add unwanted margins — neither is acceptable for professional output. Always verify that the page dimensions in your source document, your application's print dialog, and the printer's own paper tray settings are all in exact agreement. One quick check: in Adobe Acrobat's print dialog, disable "fit to page" scaling and compare the preview against your expected output before committing.
Orientation errors deserve special attention because they are often invisible until the paper exits the tray. If your output consistently lands rotated or flipped on the page, the problem is almost never mechanical — it's a mismatch between the application's orientation setting and the printer driver's own rotation override. Check both layers independently: the document properties and the driver's finishing tab. Setting one without the other is the exact scenario that produces 180-degree flips on duplex jobs.
Before sending any critical job to production, run a structured validation sequence:
- Color profile check: Confirm the document's embedded ICC profile matches the printer's RIP expectations (sRGB vs. CMYK is a common mismatch)
- Font embedding verification: In PDF workflows, unembedded fonts substitute silently and shift text reflow
- Resolution audit: Images below 200 PPI at final print size will visibly degrade — 300 PPI is the professional baseline
- Bleed and margin clearance: Any live content within 3mm of the trim edge risks being cut in finishing
A disciplined test print workflow catches these issues on a single sheet before you commit to a full run. Print one page, measure it physically, check color rendering under proper lighting, and only then release the full job. This two-minute step eliminates the most expensive outcome in print production: discovering the error after 500 sheets have already run through the machine.
Compliance, HSN Codes, and Regulatory Basics for Print Businesses
Most print entrepreneurs spend months perfecting their equipment setup and pricing models, then get blindsided by the regulatory side of the business. Getting your compliance framework right from day one is not paperwork overhead — it directly affects your invoicing accuracy, tax liability, and your ability to scale without legal friction. The foundation of this framework, particularly in markets like India, is understanding the HSN (Harmonized System of Nomenclature) code structure that applies to your specific print services.
HSN Codes: Why Precision Matters in Print
The print industry spans an unusually wide range of product categories, which is exactly why HSN classification creates so much confusion. A business card job, a packaging print run, and a textile transfer print all fall under different codes — and misclassifying them leads to incorrect GST rates on your invoices, triggering compliance issues during audits. For anyone building a sustainable operation, understanding how paper-based print products are classified under GST is non-negotiable groundwork before you issue your first commercial invoice.
The most commonly used HSN chapters for print businesses are Chapter 48 (paper and paperboard products), Chapter 49 (printed books, newspapers, and related items), and Chapter 84 (machinery, including printing equipment). GST rates vary significantly: printed materials like brochures typically attract 12%, while certain educational printed matter may fall at 0% or 5%. Getting this wrong by even one classification tier creates cascading invoice errors across hundreds of transactions.
Business Registration and Licensing Checklist
Beyond HSN codes, a print business touching commercial clients needs a clean regulatory structure from the start. The core requirements typically include:
- GST registration once annual turnover crosses ₹20 lakh (₹10 lakh in special category states)
- Shop and Establishment Act registration for any physical premises with employees
- MSME/Udyam registration — unlocks priority lending, government tender eligibility, and credit subsidies
- Trademark registration for your brand identity, especially critical if you're building a product-based print brand
- Environmental clearances if you operate offset or screen printing with solvent-based inks, which fall under pollution control board regulations in most states
If you're in the early planning phase, the practical groundwork for launching a digital print operation covers how to sequence these registrations without disrupting your launch timeline. Digital print setups generally face fewer environmental compliance hurdles than analog alternatives, which is one reason the segment has grown so sharply among first-time operators.
One area operators consistently underestimate is import duty classification on consumables. UV inks, specialty substrates, and RIP software licenses all carry distinct customs duty structures when sourced internationally. A large-format print business importing inks at scale can face duty rates between 10–18% depending on HS code classification, which has a material impact on your cost-per-print calculations.
For those exploring niche verticals — personalized merchandise, industrial marking, or décor printing — the compliance layer also shifts. These specialized print segments each carry distinct regulatory considerations depending on whether your output is classified as a service, a manufactured good, or a mixed supply under GST rules. Establishing clarity on this classification with a GST practitioner before you start billing protects you from retrospective tax demands that have caught multiple small operators off guard.
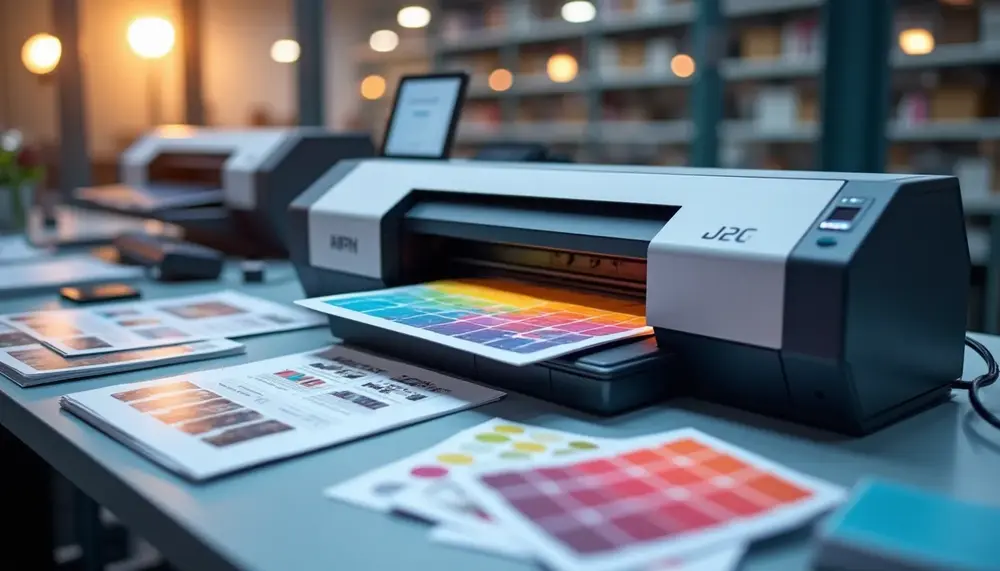
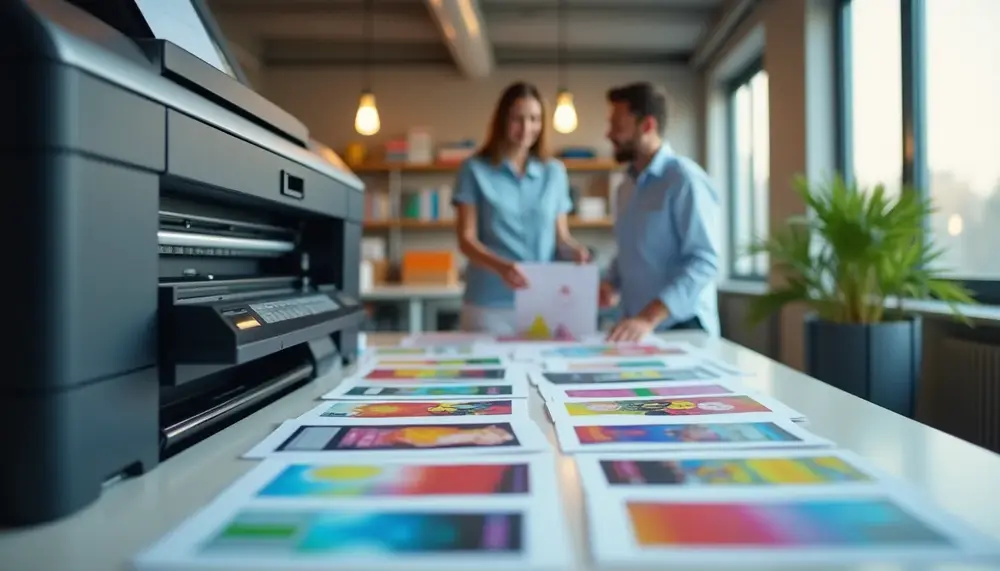
Digital Photo Printing: Technical Foundations, Quality Benchmarks, and Longevity Factors
Digital photo printing sits at the intersection of color science, materials engineering, and hardware precision. Getting consistently excellent results requires understanding not just the equipment, but the entire chain from capture to output. A raw file from a 45-megapixel camera contains far more tonal information than a compressed JPEG, and that difference becomes visible the moment you print at 24×36 inches or larger. The foundational principle is simple: garbage in, garbage out — but the technical details of what defines "garbage" are anything but simple.
Resolution, Color Space, and File Preparation
The standard benchmark for photographic print quality is 300 PPI (pixels per inch) at the intended output size. Below 180 PPI, pixel interpolation artifacts become visible to the naked eye at normal viewing distance. For a 20×30 inch print, that means your source file needs at least 6,000×9,000 pixels — roughly 54 megapixels. Color space selection is equally critical: Adobe RGB (1998) covers approximately 50% more of the printable gamut than sRGB, making it the professional standard for any output destined for wide-gamut inkjet printers. If you want to understand how file format decisions directly affect your CMYK output quality, that relationship between RGB working spaces and final CMYK conversion deserves dedicated study before you send a single file to press.
Sharpening for print follows different rules than sharpening for screen. Output sharpening at 300 PPI on matte fine-art paper requires roughly 20-30% more aggressive sharpening than the same file printed on glossy photo paper, because matte surfaces diffuse ink dots and reduce perceived edge contrast. Tools like Lightroom's Print Sharpening module or Photoshop's High Pass sharpening at 0.8–1.5 pixel radius handle this distinction automatically when configured correctly.
Ink Technologies and Archival Longevity
The longevity gap between consumer and professional photo prints is measured in decades, not years. Standard dye-based inks on glossy paper typically rate at 25–40 years under display conditions before visible fading. Pigment-based inks — used in professional systems like the Epson UltraChrome HDX or Canon LUCIA PRO lines — achieve 100–200+ year ratings on archival papers under the same conditions, based on accelerated aging tests by Wilhelm Imaging Research. Selecting the right combination of ink and substrate is the single highest-impact decision for anyone printing work intended to last across generations.
UV exposure degrades both dye and pigment prints, but the mechanism differs. Dyes break down at the molecular level through photochemical reactions, while pigments fade primarily through oxidation. UV-cured printing technologies introduce a different chemistry entirely — using UV light to cure rather than degrade — which has transformed large-format rigid media printing. For framed photographic work, UV-filtering glazing (acrylic or glass rated at 99% UV blocking) can extend display life by a factor of three to five regardless of ink type.
Paper selection interacts with ink chemistry in ways that ICC profiles only partially capture. A cotton rag paper at 310 gsm handles pigment ink pooling differently than a baryta-coated photo paper, affecting both D-max (maximum black density) and color gamut. Understanding how these variables interact — as illustrated in any rigorous breakdown of the complete digital printing workflow — is what separates practitioners who get predictable results from those who rely on luck. Soft-proofing in Photoshop with the paper's specific ICC profile before printing remains the most reliable method to avoid costly surprises on expensive substrates.
- Minimum resolution: 300 PPI at final print dimensions for gallery-quality output
- Color space: Adobe RGB (1998) for wide-gamut printers; sRGB only for consumer lab orders
- Archival threshold: Pigment inks on 100% cotton rag — the baseline for prints intended to outlast their creators
- Storage conditions: Below 65°F, below 50% relative humidity, in acid-free enclosures to maximize longevity
- ICC profiles: Always download substrate-specific profiles from the paper manufacturer, not the printer manufacturer
FAQ on Print Preparation Fundamentals
What is the importance of preparation in print production?
Preparation accounts for roughly 80% of the eventual outcome in print jobs, minimizing errors, reducing costs, and enhancing quality.
How do I select the right printing hardware?
Evaluate the total cost of ownership over purchase price, match the duty cycle to your expected volume, and consider connectivity options for scalability.
What are essential file formats for print-ready documents?
PDF/X is the industry standard for press-ready files. Using PDF/X-1a or PDF/X-4 ensures compatibility and reduces common print issues.
Why is color mode important in print production?
Files should be converted to CMYK before printing, as RGB color spaces do not accurately represent colors in print, leading to unexpected results.
How can I prevent pre-print errors?
Execute a thorough preflight check, verify color profiles, and confirm that document settings match printer configurations to avoid costly reprints.